How to Edit a Podcast: Cleanup, Structure, Transcripts, and Export
A repeatable podcast post-production workflow: back up tracks, edit from a transcript, clean speech, set loudness, create show notes, and export.
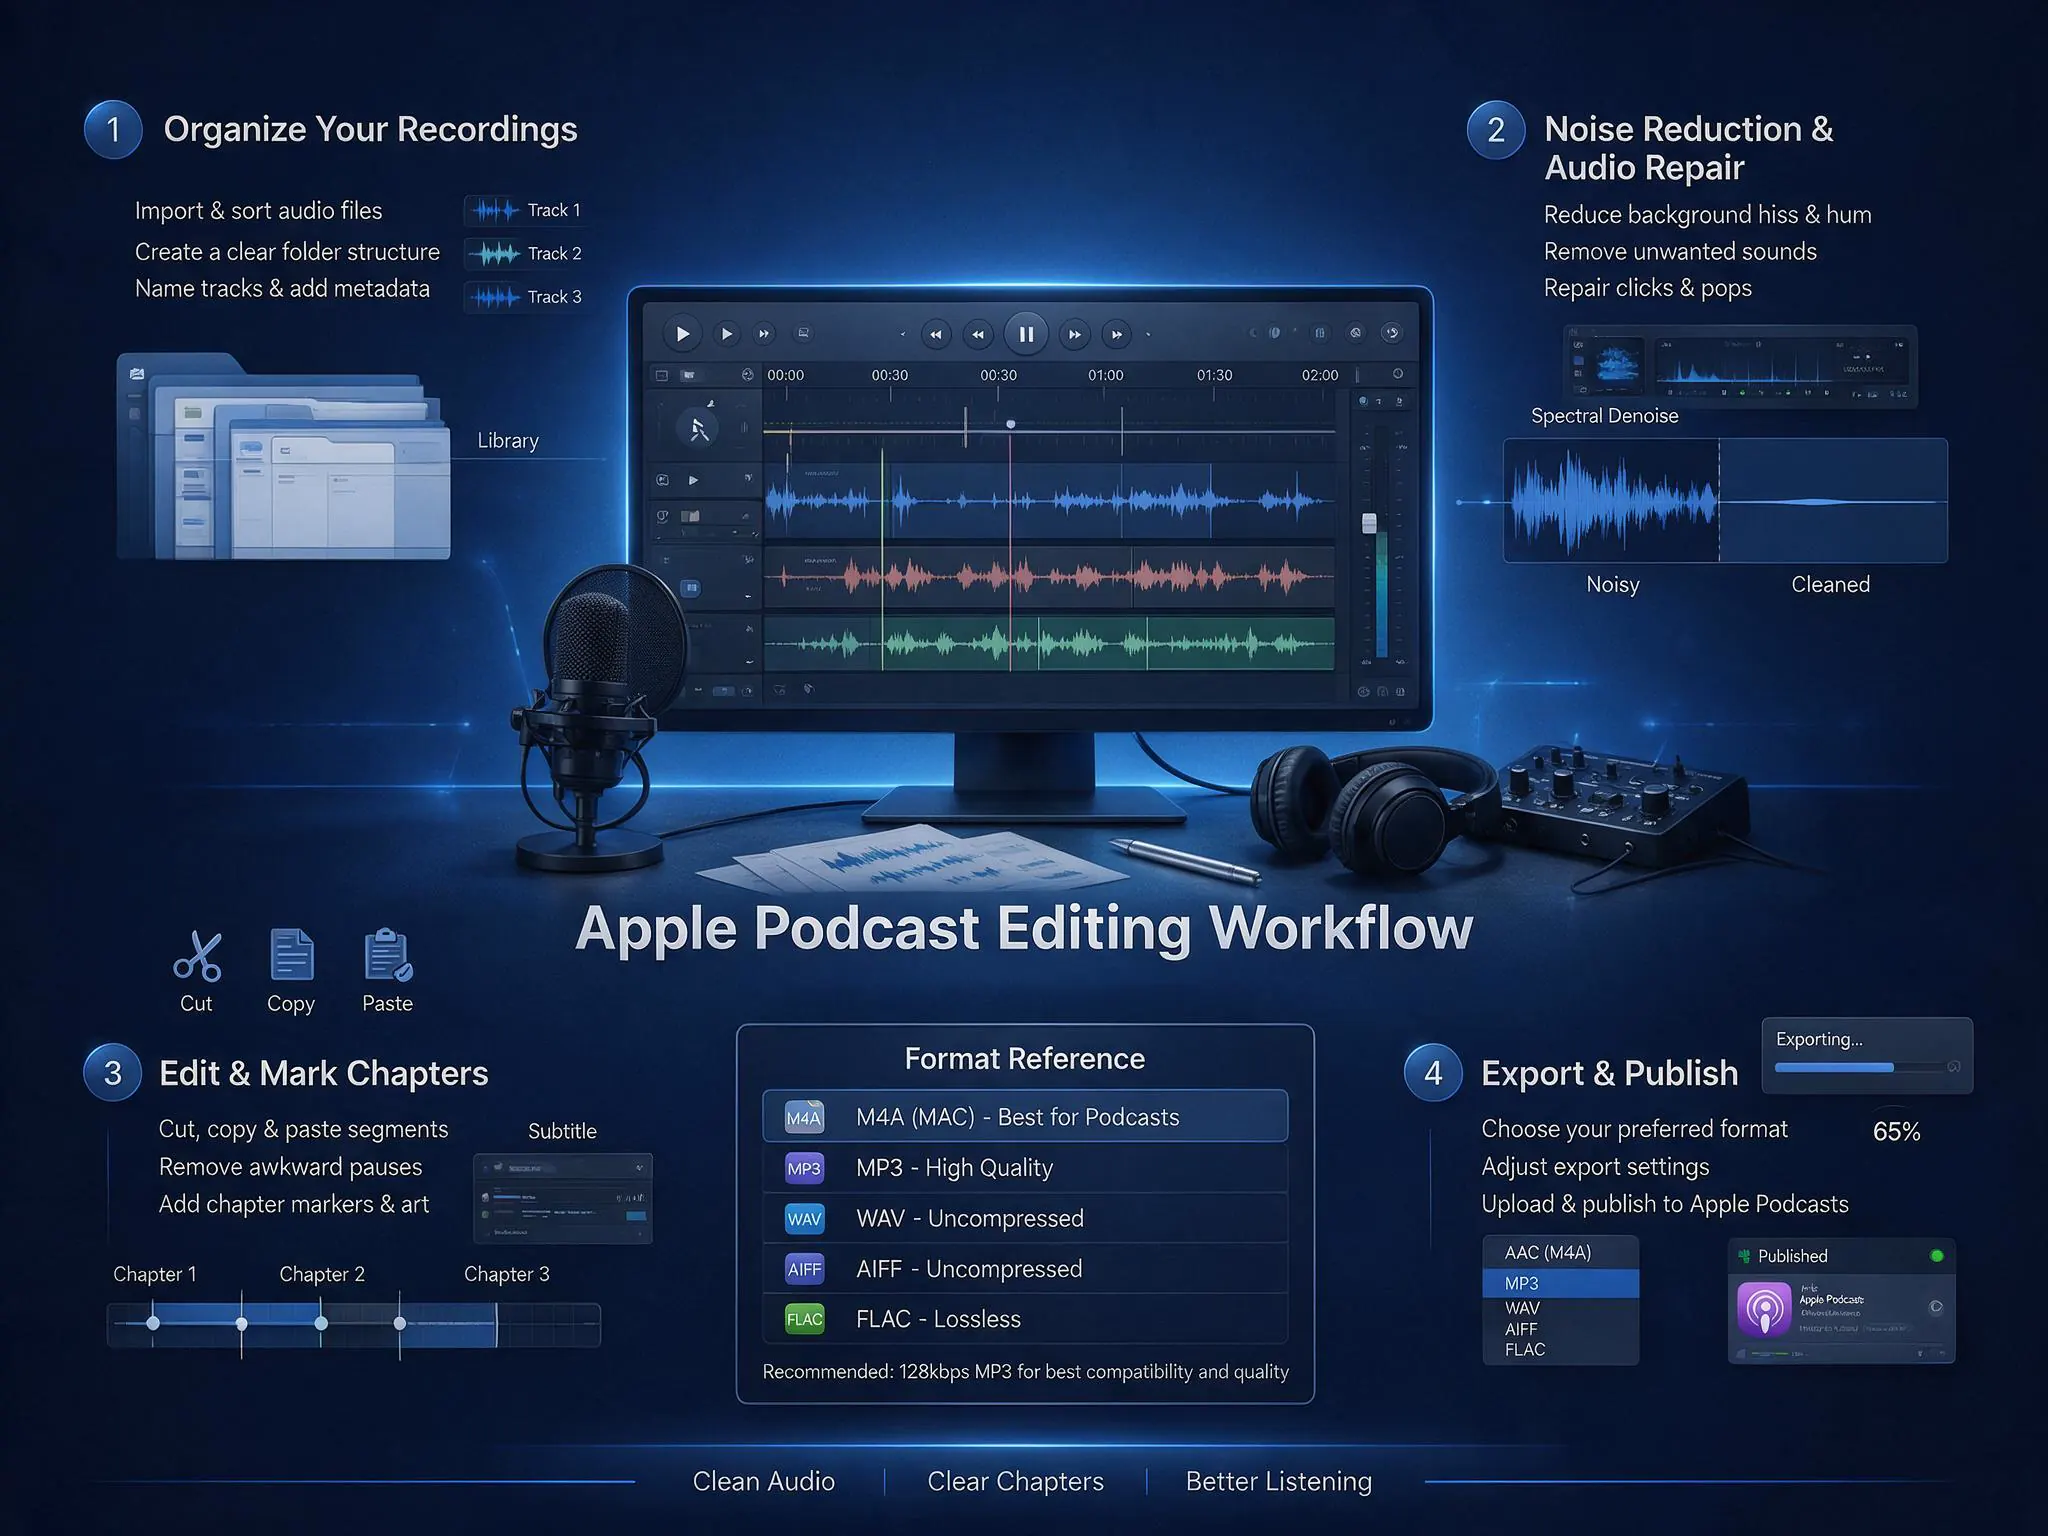
A natural-sounding episode is not one with every breath and pause removed. Good editing makes the argument clearer and the sound more consistent while preserving each speaker’s rhythm. This workflow works for solo shows, interviews, and remote conversations.
1. Back up and separate the tracks
Keep the raw recording and edit a copy. Put the host, each guest, music, and room sound on separate tracks whenever possible. For remote interviews, local recordings from each participant are safer than a single call recording. Use clear names such as ep12-host.wav and ep12-guest.wav.
Do not begin with aggressive denoising or compression. Sample the start, middle, and end for clipping, drift, dropouts, or channel problems. If remote recordings gradually lose sync, correct that before editorial cuts.
2. Transcribe before the rough cut
Waveform-only editing is slow on a long interview. Upload the recording to SnapVee transcription to create searchable text with timestamps. Supported public podcast sources can also start from the relevant transcript page.
Mark four kinds of material:
- essential claims or stories;
- repeated explanations that can be shortened;
- false starts, retakes, and irrelevant tangents;
- names, figures, and quotations that need verification.
Build a paper edit from the transcript, then use timestamps in your audio editor. This solves structure before you spend ten minutes fixing one breath.
3. Rough cut: structure first
Arrange the cold open, intro, main chapters, ad or host-read segment, and closing call to action. Remove clear retakes, long technical failures, and material that genuinely goes nowhere, but preserve useful pauses, laughter, and reactions.
Cut at natural phrase or breath boundaries and add a very short crossfade to avoid clicks. In a conversation, removing every gap makes the speakers sound like separate recordings pasted together.
4. Clean the sound
A practical order is:
- repair obvious clicks, mic bumps, and abnormal peaks;
- apply light noise reduction from a stable room-noise sample;
- high-pass unnecessary low-frequency rumble;
- use EQ for muddiness, thinness, or harshness;
- apply gentle compression for more consistent speech;
- use a de-esser only when sibilance needs it.
Excessive noise reduction creates watery or metallic artifacts. The goal is intelligible speech on common headphones, phone speakers, and car systems—not mathematical silence.
5. Music, level, and loudness
Use music you own or are licensed to use. Lower it beneath speech, prefer short transitions to an endless bed when appropriate, and check fades on headphones and phone speakers.
Apple Podcasts recommends overall loudness around -16 dB LKFS, with ±1 dB tolerance, and true peak no higher than -1 dBFS. It is not the only delivery convention, but it is a practical final target. Finish the edit and mix first, then process program loudness; do not normalize each clip independently to the same number.
6. Create show notes, chapters, and a transcript
Transcribe the final edit again so timestamps do not point to deleted material. Use SnapVee video and audio summary to draft an overview, chapters, keywords, and action items, then manually verify names, URLs, and conclusions.
Useful show notes include:
- a two- or three-sentence summary;
- timestamped chapters;
- guest and reference links;
- products, books, or research mentioned;
- music and asset credits;
- a full transcript or caption link.
7. Export settings
Keep a lossless master and make a delivery copy. A speech-first show can use mono MP3 at 96–128 kbps. Use stereo at 128–256 kbps when music, field sound, or spatial cues matter. Both 44.1 and 48 kHz work; consistency through the project matters more than switching repeatedly.
After export, sample the episode with headphones, a phone speaker, and a podcast app. Check title, episode number, artwork, description, metadata, and the explicit-content flag.
Pre-publish checklist
- Raw recordings and the project are backed up.
- Pauses needed for meaning still exist.
- Names, claims, figures, and quotations are verified.
- Music and other assets are licensed.
- Loudness and true peak pass the final check.
- Final transcript timestamps match the edit.
- MP3 metadata, artwork, and show notes are complete.
FAQ
Should every “um” be removed? No. Remove fillers only when they harm meaning, pace, or confidence.
Can AI do the entire edit? It can flag silence, retakes, and topics, but narrative judgment, comedic timing, and sensitive material still require a human review.
Denoise before or after editing? Correct essential problems and sync first, make the structural edit, then apply consistent cleanup to the assembled episode.
Should I keep a WAV after publishing MP3? Yes. The lossless master is useful for new encodes, clips, and platform migrations.
Takeaway
The fastest reliable workflow separates editorial structure, sound cleanup, and delivery instead of fixing everything on the first listen. Start with a searchable transcript, use summary tools to draft chapters and notes, and return to your audio editor for the final listening and release checks.
About the author

Jason Jiang
Product and engineering lead
Maintains SnapVee's core product features, ships platform support and product updates, and writes official tutorials and comparison content.